Showing posts with label Recipe. Show all posts

Wednesday, August 6, 2014

Blueberry Pie Bars

So, unfortunately my clothes that I have ordered haven't arrived yet, so the haul post will have to be postponed for a bit.
Also, I have barely had time to bake, so I don't think I will be able to do a July Favorites blog post, but hopefully an August one. Sorry if some of you were looking forward to that!
 
It is that time of year when I absolutely love fruit, and anything with fruit in it!
I had massive heaps of blueberries that I needed to use up before leaving for vacation next week.
I really wanted to try a recipe that I had never done before.
I found this recipe, and only slightly tweaked it.
Because I had no sour cream in my house, I simply substituted it for plain Greek yogurt.
Using the Greek yogurt cuts out a lot of calories and fats that are unneeded, as the recipe already has a good amount of butter.
I doubt that the taste is much different, and it didn't ruin the recipe because these bars were DELICIOUS!!


Blueberry Pie Bars

 
Ingredients:
 
Crust & Topping
1 1/2 cups all purpose flour
3/4 cup sugar
pinch salt
1 1/2 sticks cold butter (cubed)
Filling
3 cups fresh blueberries
2 eggs
1 cup sugar
1/3 cup all purpose flour
1/2 cup plain Greek yogurt
pinch salt
 
Instructions:
 
1. Grease 9x13 glass baking dish- set aside.
2. Preheat oven to 350 degrees.
3. Add flour, sugar, salt & cubed butter to mixing bowl, beat until combined & crumbly. 
4. Take 1 cup of mixture & set aside. Take remaining mixture & firmly press into your baking dish, covering the bottom. Bake 15 minutes. 
5. While crust is baking- whisk eggs in a large bowl.
6. Add sugar, sour cream, flour & salt. 
7. Gently fold in blueberries. Set aside.
8. When crust is ready - remove from oven & add filling.
9/ Gently spooning over the top of the crust. Sprinkle with remaining crust mixture you had set aside. 
10. Bake 1 hour or until top is lightly browned. 
11. Cool before serving if eating alone. If serving warm- add a scoop of vanilla ice cream on top! 
 

Saturday, August 2, 2014

Mexican Churros

Well, I'm back from my vacation! Today is the first day back and I am already back in the kitchen.
It was a relaxing trip, but I am glad to be home, even if its only for three weeks.
Before I started going through baking withdrawal,
I scoured one of my favorite websites, Pinterest (go figure),
and settled on making churros.
Now there are so many recipes out there, so I had to wade through and find the one that
seemed the best recipe.
Thankfully, I had all the needed utensils and tools!
This recipe can be a bit dangerous, as I looked away from my pot for a split second and it bubbled over and maybe, kinda caught on fire...but just a teeny tiny fire!!!
(my kitchen was cloudy with smoke!)
I will not be making that mistake again, or at least anytime soon!
I also burned two fingers on the oil used to fry the dough.
My advice going into it, is that you need to be careful, and keep a close eye on anything on, or near, the stove.
 
 
One of the many things that I enjoy about blogging, is taking the pictures.
Having a nicer camera allows me to show you good quality pictures of the food.
Pictures that aren't blurry or have bad lighting can affect the appeal of the food you are presenting.
 
 
Mexican Churros
 

Ingredients:

1 cup of water
2 Tbsp. of brown sugar
1/2 tsp. of salt
1/3 cup of butter
1 cup white flower
2 eggs
1/2 tsp. vanilla extract
1/4 cup of sugar
1 tsp. of ground cinnamon
Star-tipped decorating tool
 

Instructions:

1. Preheat oil in a deep-fryer or deep pan
2. In a separate dish mix your sugar and cinnamon and leave it aside for later
3. In a sauce pan put the water, brown sugar, salt, and butter. Next heat it to a good boil. Remove from the heat and add flour a little at a time. Stir until well blended.
4. In another bowl blend the eggs and vanilla together and then later add this mixture to the mixture in step 3. Stir the whole mixture until well blended and without lumps.
5. Fill cake decorating tube with the churro dough. Test oil by dropping in a small piece of dough it should bubble fast.
6. Squeeze 4-5 inch strips of dough into the oil (as many as you can fit in the fryer). Cook them for 1 to 2 minutes or until golden brown and crispy, flip over it you need to.
7. Remove churros from oil and use a paper towel to remove excess oil.
8. Roll churros into the sugar mixture.
 
~Enjoy! - Gabi xoxo~


Sunburst Lemon Bars

 
So, I am now an official high school graduate!!! Boy does it feel great! Now I just need to make it through my recital tonight without botching the whole thing up! Last night (my graduation) was incredible, and I may have teared up a little.
They were tears of joy obviously! Hehe!
So many family and friends showed up to show their support and I just feel so blessed to have so many loving people in my life! The ceremony was not flawless, despite our best efforts. At the start, the Emcee may have accidentally said "when they leave here today, they will be 2004 graduates." Close, but about ten years off.
There were also awkward pauses, but maybe they jus felt incredibly long because I was so impatient to graduate!
 
~Me and my Mom before graduation~

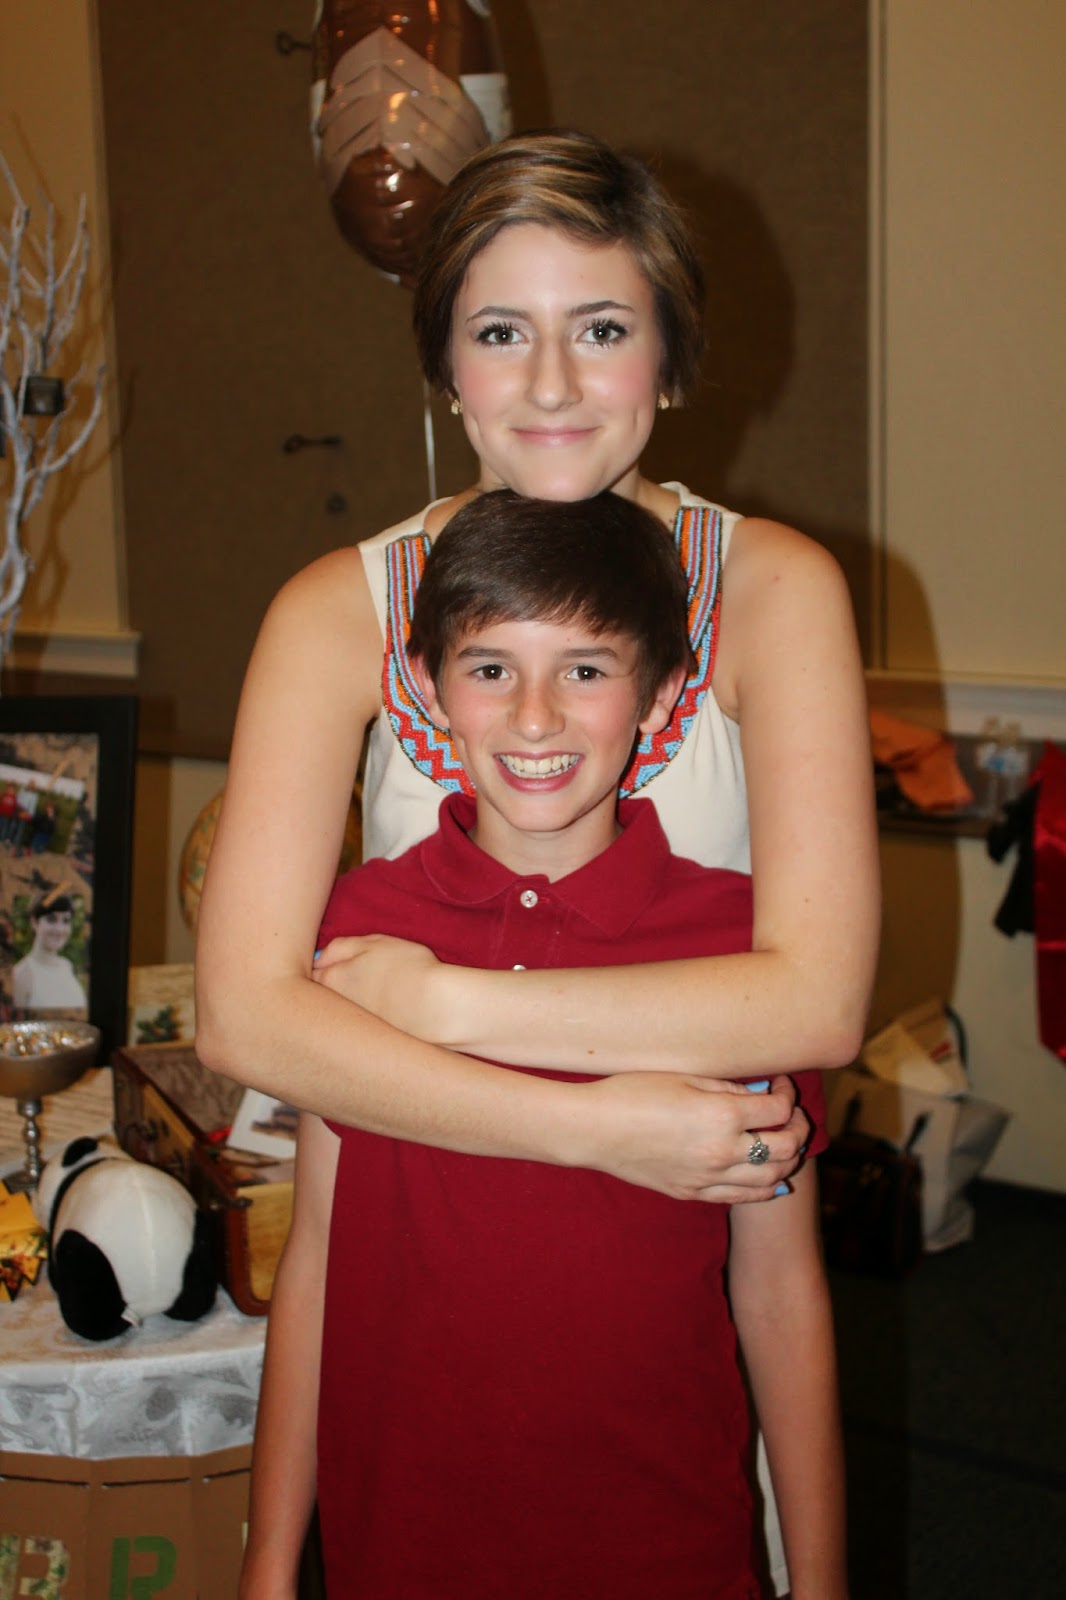
~Me and my youngest brother, Ethan, after graduation~
 
Anyway, back to the food!! (Got a little sidetracked!) With all the desserts I was making for my recital tonight, I realized that they all had chocolate in them.
I knew I needed a burst of citrus, and what better way to have that than with Lemon Bars. They just scream summer and sunshine! Oh, and they also happen to be very yummy!


Sunburst Lemon Bars

Ingredients:
 
Crust:
2 cups all-purpose flour
1/2 cup powdered sugar
1 cup butter, softened
 
Filling:
4 eggs
2 cups granulated sugar
1/4 cup all-purpose flour
1 tsp. baking powder
1/4 cup fresh lemon juice
1 tsp. grated lemon peel
 
Instructions:
 
1. Heat oven to 350° F. Get out a 13x9-inch pan.
2. In large bowl with electric mixer, beat flour, sugar, butter, and peel on low speed until crumbly. Press mixture evenly in bottom of ungreased pan. Bake 20 to 30 minutes or until light golden brown.
3. Meanwhile, in large bowl with wire whisk, lightly beat eggs. Beat in remaining filling ingredients except lemon juice and lemon peel until well blended. Beat in 1/4 cup lemon juice and peel.
4. Remove partially baked base from oven. Pour filling evenly over warm base.
5. Return to oven; bake 25 to 30 minutes longer or until top is light golden brown. Cool completely, about 1 hour. Sprinkle confectionary sugar on top, if so desired.
 
~Enjoy! - Gabi xoxo~
 

{Coconut Oil} Chocolate Fudge

 
So, I am currently obsessed with coconut oil! I use it all the time, whether when I bake or even sautéing my vegetables in it. I also use it as a moisturizer and I put just a dab on my eyelashes to strengthen them and help them grow. Coconut oil helps you body put up a resistance against bacteria and viruses. It also helps fight off yeast infections, regulate your blood-sugar levels, and give your metabolism a good boost.


Because I will be graduating NEXT WEEK!!! I am SO incredibly excited! Anyway, as I will be graduating next week, I will also be having my senior piano recital the very next day. I am going to be baking loads of treats, and I thought that maybe my Coconut Fudge would be a nice tropical kind of sweet. It took me about two or three times before I finally got it right, but that's all in the art of baking!
 

{Coconut Oil} Chocolate Fudge

 Ingredients:

1 cup extra virgin coconut oil
1/4 cup coconut milk
1 tsp. vanilla extract
1/4 tsp. sea salt
1/4 cup cacao powder
1/4 raw honey
1/2 raw dark chocolate

Instructions:

1. Line a loaf pan with parchment paper.
2. In medium saucepan, combine all ingredients and simmer until oil is combined with other ingredients and chocolate is completely melted.
3. Pour fudge into prepared pan. Refrigerate until firm.
4. Cut into squares and store in airtight container in refrigerator or freezer.

~Enjoy! - Gabi xoxo~

Quinoa Energy Bars

So, Memorial Day was this past weekend and when I was not working, I was spending time with my family. Veterans Day is a big day for my family because my Grandfather was a WWII pilot, my one uncle served in the Marines, and my other uncle, who passed away a little over year ago, after over a 20-year battle with cancer, also fought for our country. It was a great reminder to cherish the time with my family, and I give thanks for the men and women who fought and laid down their lives for our freedom.
As a good bonding family time, we went of a six-mile hike. It was a beautiful and it was so enjoyable! We made it back just before the dark clouds rolled in and it started to sprinkle. While on the hike, all of my family had their protein and granola bars, but as I have gone gluten-free, I couldn't have either. I needed something to nourish me, energize me, and give me something healthy to snack on at other times.
These energy bars have quinoa and dark chocolate! Quinoa is one of these best sources of protein, and if you are not a huge fan of the taste, no worries for the berries mask the taste. Dark chocolate is the best kind of chocolate for you and is a great antioxidant, it lowers blood pressure, and it fills your chocolate craving without overindulging.

Quinoa Energy Bars

Ingredients:

1/2 cup uncooked quinoa
2 Tbsp. chia seeds (alternative is flax seeds)
1/2 cup frozen berries
1/3 dried cranberries
Enough dark chocolate to spread over top lightly

Instructions:

1. Preheat oven to 375 degree F.  Line baking pan with wax paper.
2. Rinse quinoa and cook according to package. Drain and set aside.
3. Food process chia seeds, frozen berries, and dried cranberries until gooey.
4. In mixing bowl, mix together quinoa and gooey mess. *Optional: Mix in whole dried cranberries.
5.Spread thinly on baking sheet. Bake for 30 minutes, or until crispy. Remove and let cool.
6. Melt chocolate and spread thinly over the energy bars. Let cool completely.
7. Store in airtight container. Best if refrigerated or frozen for more of a crunch!

~Enjoy!! -Gabi xoxo~

{Flourless} Cacao Cookies


As my first post, I thought that I would tell just a little about me personally. I am about to graduate high school in  14 days and I could not be more excited! I have been baking since I was a little girl, but only discovered about two years ago that I had a knack and passion for the culinary arts. You can usually find me trying out new recipes, or concocting my own.
 I live in a family that enjoys food, and luckily I have two younger brothers who seem to be always hungry and they are always willing taste testers. My family is very supportive and they are never to scared to tell me the truth if something is bad.
In the fall, I am planning on attending culinary school in order to get my degree, and I am so incredibly thankful for how all the pieces have simply fit into place.
I am hoping to one day have either my own little shop, or a catering business. My specialty is desserts, so I will warn you right now, that you will be seeing a lot of recipes to satisfy the sweet tooth.
Well, lets get down to business! The recipe for today is for all you Gluten-Free people, but also for those who have a big sweet tooth.
These cookies are delicious, but as a warning: these cookies are rather sweet. My dad thinks that gluten is an amazing thing (*insert eye roll*), and he LOVED these cookies!
No exaggeration! Another plus side to these cookies, is that they are only 68 calories! Each!! The centers are rich and gooey, with a meringue edge.

{Flourless} Cacao Cookies

Ingredients:

3 cups powdered sugar
3/4 cup organic cacao powder
1/4 tsp. salt
4 large egg whites
1 Tbsp. pure vanilla extract
1 cup mini chocolate chips

Instructions:

1. Preheat oven to 350 degrees F.
2. In a large bowl, whisk together the powdered sugar, cacao powder, and salt.
3. Stir in vanilla and egg whites. Whisk until batter is moistened.
4. Stir in chocolate chips.
5. Scoop the batter by the tablespoon onto baking sheet. Leave enough space between each cookie for each cookie to expand.
6. Bake for 8-10 minutes, or until the tops are glossy and lightly cracked.
7. Let the cookies cool completely before transferring to an airtight container for storage. Leave at room temperature or freeze (they're really good either way).

~Enjoy!- Gabi xoxo~

Friday, January 10, 2014

Sweet Cornbread

Brrr! With all the cold weather lately, I have spent a great deal of time drinking tea and curled up under a heating blanket. The positive side to the cold, is that I have gotten a lot of infinity scarves crotched, and I have been reading and catching up with friends. Cold tends to bring people closer.

Two night ago, it was decided by a unanimous vote, that we would make chili to chase away the cold that seemed to be under the skin. Of course, chili is not complete until you have sweet cornbread with it. I love, love, love sweet cornbread! There are so many ways to make, but I thought that I would share with you my recipe that I have used numerous times.


Cornbread

Ingredients:

4 eggs, whites and yolks separated
1 cup milk
1 tsp. vanilla
3/4 cup butter, melted
1 cup cornmeal
2 cups flour

1-1/2 cups sugar 
1 Tbsp. baking powder
1 tsp. salt

Instructions:

1.Preheat oven to 375 degrees. Grease an 8×8 pan.
2.In a medium-size mixing bowl, combine egg yolks, milk, vanilla, and cooled melted butter and stir.
3.Mix in cornmeal, flour, sugar, baking powder, and salt, stirring to incorporate – but do not over mix.
4.In a separate bowl, beat egg whites until stiff peaks form. Carefully fold them into the batter.
5.Pour into a greased pan and bake for 40-45 minutes. Check with a toothpick to make sure it is cooked through. Enjoy!


Thursday, January 2, 2014

Foolproof Fudge

WOW! I have not posted in so long! I just got so caught up in the holidays. If I hade posted about every recipe I made over the month of December, I would've had over 25 posts!!! A new year has begun, and that means a fresh start, with new recipes to try.
I was extremely busy in the kitchen over the holidays! Hardly a day went by when I wasn't baking. I gave so much food to people! I made up gift boxes and gifted the sweet treats to neighbors, friends, relatives, and coworkers.
One of the recipes that I had to make a few times (because my brother kept eating them all up), was a Foolproof Fudge. So easy, yet so delicious!


Foolproof Fudge

Ingredients:

3 cups semisweet (or milk chocolate) chips
1 (14oz.) can sweetened condensed milk
Dash of salt
1 1/2 tsp. vanilla extract

Instructions:

1. Line 8" or 9" square pan with aluminum foil or parchment paper.
2. In heavy saucepan, melt chips with condensed milk and salt. Once chips are fully melted, remove from heat. Stir in vanilla.
3. Spread evenly in prepared pan, and chill until hardened.

If adding marshmallows:
Stir in 2 Tbsp. butter with the vanilla. Fold in 2 cups of mini-marshmallows. Enjoy!!


Wednesday, December 11, 2013

Cookies 'n' Cream Fudge

I just want to say... 1,000 page views! Thank you everyone for visiting my blog! It motivates me to keep posting! I simply would like to add that I would really, really (did I say really?) appreciate comments and feedback!
Now onto the food! Who doesn't love fudge, and who doesn't love Oreos?! Let me say that when they are mixed together, the result is magical unicorns jumping over rainbows. Haha, well maybe not, but it is still very delicious! I have had to ban my dad from the fudge for his own good, because I think he is addicted now.
This is certainly a good recipe that I will bring out each holiday season from now on. Fudge is a great item to put in a holiday sweets gift!


Cookies 'n' Cream Fudge

Ingredients:

3/4 cup salted butter
1 cup granulated sugar
1 (5 oz.) can evaporated  milk
2 (12 oz.) packages white chocolate chips
1 (7 oz.) jar marshmallow fudge
3 cups coarsely chopped Oreo cookies, divided
Pinch of salt

Instructions:

1. Line a 9″ square pan with foil, set aside.
2. Combine butter, sugar, and evaporated milk in a medium saucepan.
3. Cook over medium-high heat, stirring constantly, until mixture comes to a boil. Cook 3 minutes, stirring constantly.
4. Remove from heat, add white chocolate chips, marshmallow cream, 2 cups chopped cookies, and salt. Stir until chips melt.
5. Pour fudge into prepared pan. Sprinkle remaining 1 cup chopped cookies over fudge, gently press cookies into fudge.
6. Cover and chill until firm (about 1 to 2 hours). Enjoy!!
 
*Note: You can add more Oreos according to you liking.
 
~Enjoy! - Gabi xoxo~


Wednesday, December 4, 2013

Graham Cracker Toffee

Christmas music, Christmas trees, Christmas atmosphere! It is only the fourth day of December and already I am in the Christmas spirit, to the max. The Christmas tree was just put up today and it looks spectacular! It is a family tradition to all go together and saw down the tree by hand. It may take some work, but it makes memories.

This recipe for Graham Cracker Toffee is one from my mom, and let me just say that I've probably gained about 500 pounds from eating it. It is so addicting!


Graham Cracker Toffee

Ingredients:

1 stick margarine
1 stick unsalted butter
1/2 cup granulated sugar (has to be this kind)
Graham Crackers
1 bag milk chocolate chips

Instructions:

1. Preheat oven to 350 degrees F. Line 9x13 cooking pan with parchment or aluminum paper.
2. In medium saucepan, cook butter, margarine, and sugar until frothy. Once frothy, cook for 2-3 ore minutes.
3. Pour half of mixture on pan and spread. Evenly place graham crackers on pan and pour second half of mixture over top and spread evenly. Place in oven for 8 minutes,
4. Sprinkle chocolate chips and place pan back in oven for 1-2 minutes, or just until chocolate in melted. Take out of oven and spread chocolate out evenly.
5. Place pan in freezer until chocolate is fully hardened. Break into 1 or 2 inch pieces. Enjoy the weight gain!! :)
 
~Enjoy! - Gabi xoxo~


Tuesday, December 3, 2013

Grinch Cookies

How was everyone's Thanksgiving? Mine was phenomenal! It was a lovely day that was spent gorging on turkey, sweet potatoes, and anything pumpkin! Also, football played a major role in the day, as did Black Friday Shopping!
It was my first ever experience of the mad rush of shoppers. it was fun though, and I got great deals on gifts and a new phone for myself (I couldn't help it :p). I was in North Carolina, so their malls are HUGE! Maybe not for them, but for this girl they seemed like a labyrinth of stores!
Now that Thanksgiving is time to begin the Christmas baking extravaganza! It is the perfect time of year to bake all the time without people thinking your weird. I also love giving the things I make away.
As it was the first day of December yesterday, I decided to pay tribute to the Grinch himself. Grinch cookies are minty, but also chocolatey! Yum!!


If you can't tell, the cookies are green!!


Grinch Cookies

Ingredients:

1 cup unsalted butter, melted
3/4 cup granulated sugar
3/4 cup brown sugar
2 medium eggs
1/2 tsp. vanilla extract
1 tsp. mint extract
1 tsp. baking soda
1 tsp. salt
3 cups all-purpose flour
1 1/2 cup Andes Candies baking chips
1/2 cup milk chocolate chips
Blue & Yellow food coloring

Instructions:

1. Preheat oven to 350 degrees F.
2. In medium mixing bowl, beat butter and sugars together until somewhat smooth. Add in eggs and beat until full incorporated.
3. Add in drops of food coloring. You will need to decide what shade of green you want, so experiment.
4. Mix in vanilla, mint, baking soda and salt until fully incorporated. Next, add in flour and beat until it becomes a thicker cookie dough. Add in Andes Candies and chocolate chips. Stir.
5. With cookie scoop, disperse onto pan of whatever size. Bake for 7-8 minutes.
 
~Enjoy! - Gabi xoxo~ 


Thursday, November 21, 2013

Billionaire Bars

Thanksgiving is jus around the corner! I LOVE Thanksgiving time, especially this year, because my family and I are traveling to Kentucky to see the Creation Museum, and then we are going to North Carolina until after Thanksgiving. My dad's family lives in Salisbury, NC, so that is where I will be shoving my face for the week. :)
I'm really excited, because my sister is on break from N.C. State University where she has a gymnastics scholarship (I'm so proud of her!). I miss my sister greatly and enjoy the time we have together.
The Thanksgiving atmosphere is incredible! A parade, football, family time, goofing off, turkey, all the women of the family cooking and baking together, and last, but certainly not least, the time we get to say what we are thankful for. We each go around the room and say one or two things we are thankful for. And for the day after Thanksgiving,  forget Black Friday shopping, I will be snuggling up in a blanket listening to Christmas music. my family's tradition regarding music is that we cannot listen to Christmas music until the day after Thanksgiving. YAY!
Now, onto the actual reason for this post... ;) I was craving chocolate, and cookie dough, and shortbread, and more chocolate (a.k.a. I was craving calories to the max!). Billionaire Bars are delicious and absolutely worth those extra crunches and miles. I have no idea why they are called 'Billionaire' Bars. Maybe because they are worthy of the taste buds of a billionaire.
 

Topped with milk chocolate, filled with cookie dough, and all on top of shortbread, it is easy to see why these bars are so popular (not to mention yummy)!


Billionaire Bars

Ingredients:

For the Shortbread:
1/3 cup unsalted butter, softened or melted
1/3 cup granulated sugar
1/2 tsp. vanilla extract
1/4 tsp. salt
1 cup all-purpose flour
 
For the Cookie Dough:
1/2 cup unsalted butter, softened
1/2 cup brown sugar
1/4 cup granulated sugar
2 Tbsp. heavy cream (if you don't have heavy cream, you can substitute half-and-half)
1/2 tsp. vanilla extract
3/4 cup all-purpose flour (you may need to add a little more until it acquires the 'cookie dough' consistency.)
Pinch of salt
1/2 -2/3 cup of chocolate chips (can also use mini chips)
 
For Chocolate Topping:
1 1/2 cup of milk chocolate
1 Tbsp. unsalted butter

Instructions:

1. Preheat oven to 350 degrees F. Line an 8x8 pan with parchment paper, leaving a 1-inch overhang on two sides.
2. Making the Shortbread. In a medium mixing bowl, beat together butter and sugar until light and fluffy, about 2-3 minutes. Add in vanilla and salt and beat until combined. add in flour and mix, dough may appear slightly crumbly. Firmly press into prepared pan. Poke sever shallow holes into the surface with a knife or fork. Bake 15-18 minutes, or until lightly golden around the edges.
3. Making the Cookie Dough. In medium mixing bowl, beat together butter and sugars until light and fluffy, about 2-3 minutes. Mix in the heavy cream and vanilla; mix well. Add in the salt and flour (may need to add more flour) and mix until fully incorporated. Stir in the chocolate chips. Spread the cookie dough layer evenly onto the shortbread once it has fully cooled. Refrigerate the pan while you prepare the chocolate topping.
4. Making the Chocolate Topping. This can be done several way. You can put the chocolate and butter in a bowl and melt them in the microwave, you can melt them in a pan on the stove, or you can simply melt them all in a chocolate melter. Melt until completely melted and smooth. Spread the chocolate topping over the cookie dough layer and chill until set, about 30 minutes. Enjoy the richness of it!
 
*Note: You are totally getting annoyed of this, I know, but please, please, PLEASE! Comment! I feel like these posts are just seen and I do put quite a bit of work into them. So if I could get any type of feedback that would be stellar!
 
~Enjoy! - Gabi xoxo~


Tuesday, November 5, 2013

Gooey Funfetti Bars

Since I thought I had the day off, I decided to bake. Unfortunately my boos called to see if I could come in and work. I, being the person I am, couldn't say no. But I still wanted to bake today, so I decided on this quick, easy, and yummy recipe.

I was able to whip these up in a flash and they were so easy incredibly easy to eat...I mean make! ;) You can use whatever kind of sprinkles you want, or whatever color you would like to consume. Wow! Is my hunger coming out in my typing. Well I will just grab a few more bars and I will be good to go!


Gooey Funfetti Bars

Ingredients:

1 box of yellow cake mix
1 stick of unsalted butter (1/2 cup), melted
1 egg
2/3 cup rainbow sprinkles (feel free to use whatever kind you like. I used the round, harder sprinkles.)
1/2 chocolate chips
1/2 white chocolate chips
1/2 cup sweetened condensed milk

Instructions:

1. Preheat oven to 350 degrees F. Grease 9x9 pan.
2. In medium mixing bowl, combine cake mix, melted butter, and egg. mix until it becomes dough. Stir in 1/3 cup of the sprinkles.
3. In greased pan, evenly flatten 2/3 of dough. Then, evenly sprinkle all chocolate chips onto pressed dough.
4. Pour sweetened condensed milk over chocolate chips and dough, making sure to pour evenly. With remaining dough, roll into small balls and place in pan. Press down to flatten.
5. Put in oven and bake for approximately 30 minutes or a little more.
6. Let cool completely before cutting, or you can simply eat it out of the pan like I did!
 
~Enjoy! - Gabi xoxo~